Picture this: I’m standing in my kitchen, the timer on the old oven ticking like a nervous metronome, and a sudden craving for something that feels both decadent and playful hits me like a sugar‑coated lightning bolt. I tried to satisfy it with store‑bought red velvet cupcakes, but they crumbled faster than my confidence after a bad Tinder date. I was left with a half‑melted frosting puddle and a lingering “meh” taste that haunted the rest of the afternoon. That disaster sparked a dare—“I bet I can create a cookie that looks like a cupcake, tastes like a velvet dream, and holds its own frosting without turning into a soggy mess.” Spoiler: I accepted, and the result is nothing short of a culinary mic drop.
The moment the batter hits the mixing bowl, the kitchen erupts with a symphony of aromas: the deep, earthy whisper of cocoa, the sweet perfume of vanilla, and a faint, almost mischievous tang of white vinegar that promises a tender crumb. The butter softens under the whisk, turning buttery clouds into a glossy, ruby‑red river that looks like it was painted by a modern artist. I can hear the faint crackle of sugar crystals as they dissolve, and my fingertips feel the buttery dough yielding just enough to be pliable but firm. As the cookies bake, the air fills with a warm, comforting scent that makes you want to hug the oven door—trust me, it’s that good.
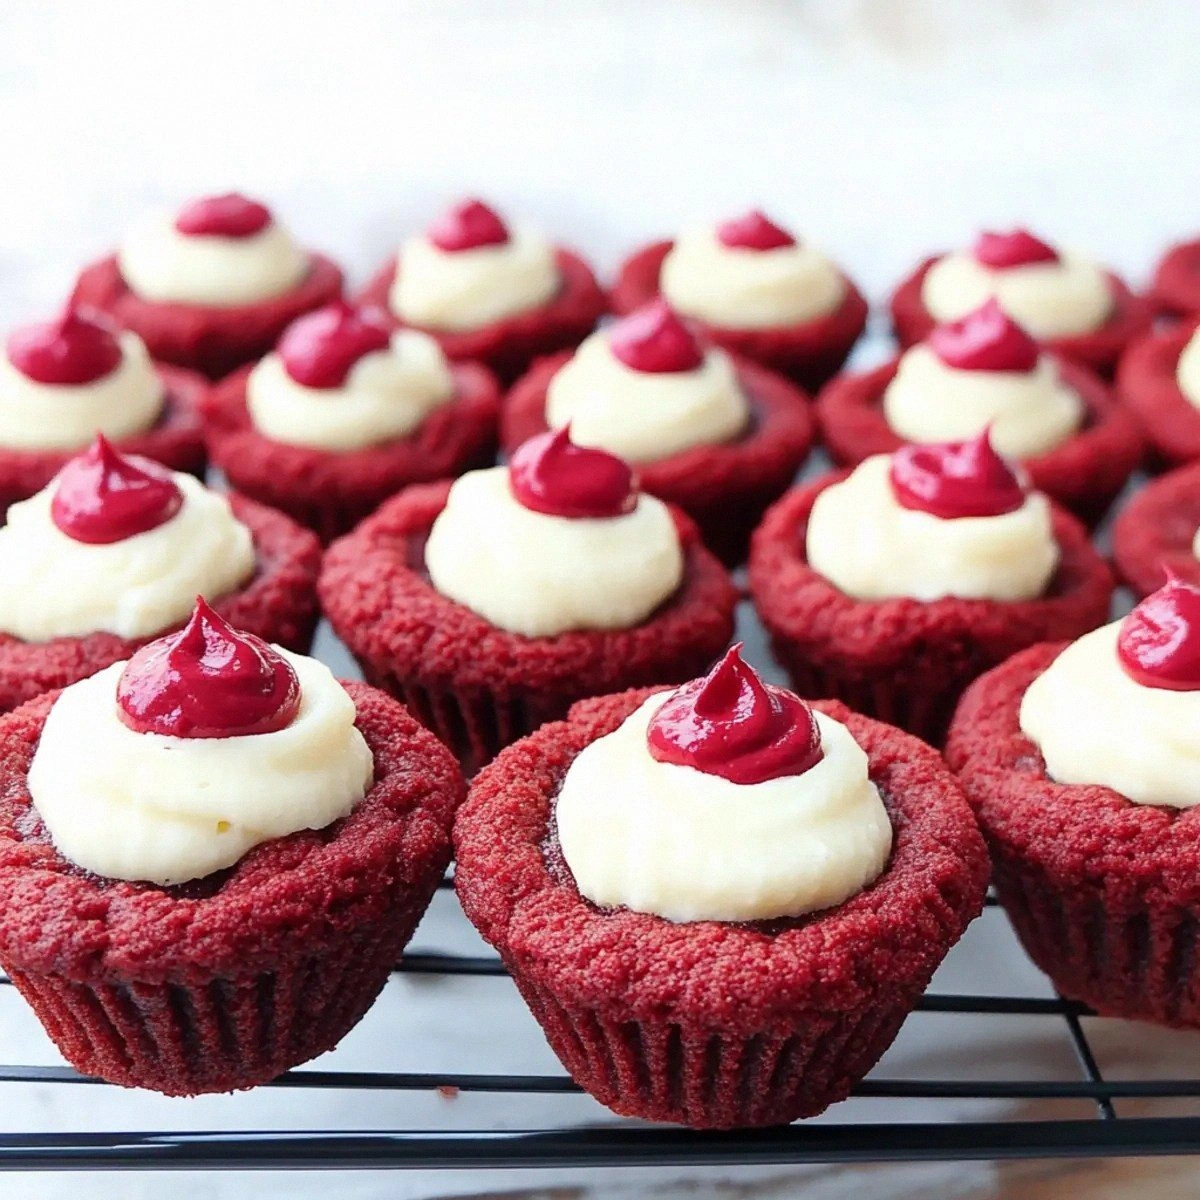
What makes this version truly stand out is a secret weapon: a splash of white vinegar that reacts with the baking soda, creating a lift that keeps the cookie interior airy while the edges stay crisp enough to scoop frosting without collapsing. Most recipes get this completely wrong, ending up with flat, dry discs that look like rejected cookie dough. I’ve also swapped regular cocoa for a high‑quality unsweetened cocoa, giving the crumb a richer, almost chocolate‑kissed undertone that pairs perfectly with the tangy cream cheese frosting. The result? A cookie cup that holds its shape like a miniature cake tin, with a soft, velvety center that melts in your mouth.
Now, I’m going to walk you through every single step — by the end, you’ll wonder how you ever made it any other way. I dare you to taste this and not go back for seconds. Ready? Let’s dive in.
What Makes This Version Stand Out
- Flavor Fusion: The subtle acidity from vinegar amplifies the cocoa’s depth while keeping the sweetness balanced, creating a complex taste that sings.
- Texture Triumph: A crisp outer rim frames a soft, cake‑like interior, giving you that satisfying bite‑contrast you crave.
- Simplicity Wins: Only pantry staples plus a few specialty items are needed—no fancy equipment, just a muffin tin and a whisk.
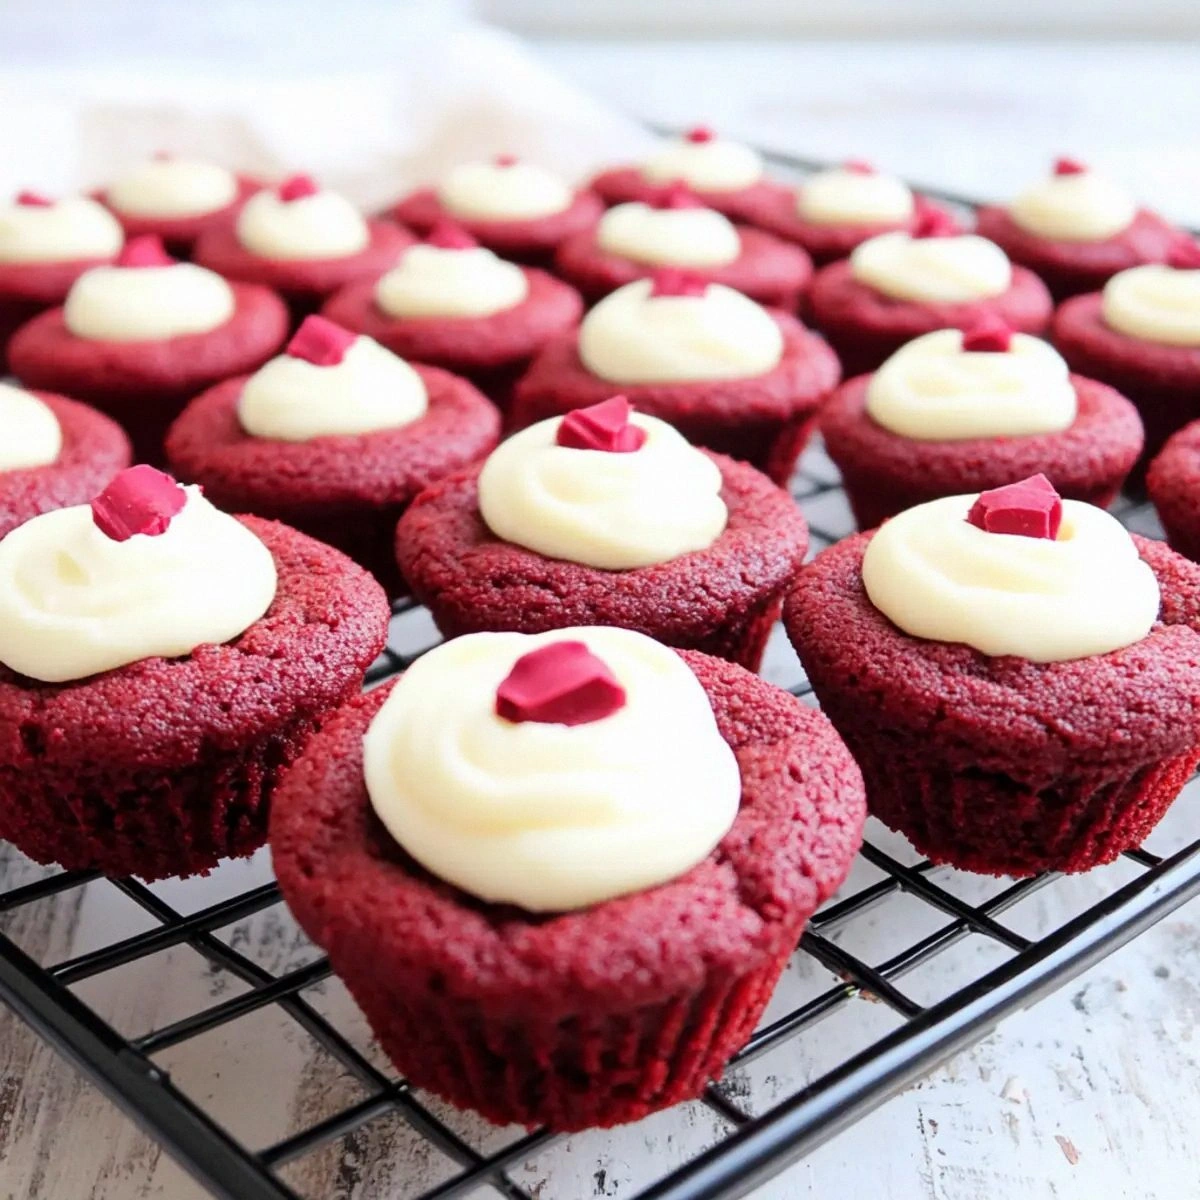
- Visual Wow: The vivid red hue paired with a swirl of creamy frosting makes these look like Instagram‑ready cupcakes without the fuss.
- Crowd Magnet: I’ve served these at parties and they disappear faster than the last slice of pizza; guests keep asking for the recipe.
- Ingredient Quality: Using real butter and high‑quality cocoa elevates the flavor profile beyond typical “box‑mix” red velvet treats.
- Cooking Method: Baking in a muffin tin creates uniform cups, ensuring each bite gets an equal share of crust and frosting.
- Make‑Ahead Magic: The frosting can be prepared days ahead, and the cookies store beautifully, making this a perfect make‑ahead dessert.
Inside the Ingredient List
The Flavor Base
Unsweetened Cocoa (2 tbsp): This is the dark horse of the recipe, delivering a subtle bitterness that balances the sugar and enhances the red velvet vibe. If you skip it, the cookies taste flat and the color appears dull. For a deeper flavor, try Dutch‑process cocoa, but remember it’s slightly more bitter.
Red Food Coloring (2 tbsp): The vivid scarlet you see isn’t just for show; it also adds a faint metallic note that pairs well with the cocoa. If you’re avoiding artificial dyes, beet powder works, though it yields a more muted hue.
The Texture Crew
All‑Purpose Flour (2 cups): The backbone of any cookie, providing structure. Using cake flour would make the crumb too tender, while bread flour would make it chewy. Choose a flour that’s fresh—stale flour can give a metallic aftertaste.
Butter (1 cup, softened): Real butter creates a rich, buttery mouthfeel and helps the cookies spread just enough to form a cup. Margarine will make them greasy and less flavorful.
Granulated Sugar (1 cup) & Brown Sugar (1/2 cup): The duo creates a balanced sweetness and contributes to the chewy‑crisp texture. Swap half the brown sugar for coconut sugar for a caramel twist.
The Unexpected Star
White Vinegar (1 tbsp): This is the secret that lifts the dough, reacting with baking soda to create tiny air pockets. Without it, the cookies would be dense and flat. If you’re out of vinegar, lemon juice works in a pinch.
Baking Soda (1 tsp) & Kosher Salt (1 tsp): Baking soda provides the lift, while salt accentuates the chocolate notes and cuts the sweetness. Too much salt will make the cookies taste briny, so measure carefully.
The Final Flourish
Cream Cheese (8 oz, softened): The star of the frosting, delivering that tangy, silky finish that makes each bite unforgettable. Use full‑fat cream cheese for the best texture; low‑fat versions become grainy.
Powdered Sugar (2 cups) & Vanilla Extract (1 tsp + 1 tsp additional): These sweeten and flavor the frosting, creating a smooth, glossy finish. If you want a deeper vanilla flavor, split the extracts between the dough and frosting.
Everything's prepped? Good. Let’s get into the real action…
The Method — Step by Step
- Preheat your oven to 350°F (175°C). While the oven warms, line a standard 12‑cup muffin tin with paper liners or lightly grease them with butter. This step ensures the cookies release cleanly without sticking, and the heat‑stable liners give a nice visual contrast when you pull the finished cups out.
- In a large mixing bowl, cream together the softened butter, granulated sugar, and brown sugar until the mixture is light and fluffy, about 3–4 minutes on medium speed. You’ll notice the color lightening and the texture becoming airy—this is the foundation for a tender crumb.
- Add the egg, vanilla extract, and red food coloring to the butter‑sugar blend. Beat until fully incorporated; the dough should turn a deep, velvety crimson that looks like a ruby‑red sunrise. If the color seems pale, add a drop more food coloring—don’t overdo it, or you’ll taste the dye.
- In a separate bowl, whisk together the flour, cocoa powder, baking soda, and kosher salt. This dry mixture should be well combined, with no streaks of cocoa. The cocoa adds depth, while the baking soda will react later with the vinegar for lift.
- Gradually add the dry ingredients to the wet mixture, mixing on low speed until just combined. Over‑mixing will develop gluten and make the cookies tough. Stop when you no longer see flour streaks.
- Stir in the white vinegar—watch as the batter bubbles slightly, a sign that the chemical reaction is happening. This tiny fizz is the magic that will give your cookie cups a light, airy interior.
- Spoon the batter into the prepared muffin tin, filling each cup about three‑quarters full. Use a small ice‑cream scoop for consistency. The batter will spread slightly as it bakes, forming a natural rim.
- Bake for 12–14 minutes, or until the edges are set and lightly golden while the center still looks slightly soft. The cookies should have a faint perfume of toasted cocoa and vanilla—this is your cue to pull them out.
- While the cookies cool in the tin for 5 minutes, whip the cream cheese frosting (see next section). Then, gently remove each cookie from the tin and press the center slightly with your thumb to create a shallow well for the frosting.
Insider Tricks for Flawless Results
The Temperature Rule Nobody Follows
Always bring your butter to room temperature, but not melted. Cold butter won’t cream properly, while melted butter will make the dough spread too much, resulting in thin walls that can’t hold frosting. I once tried using melted butter and ended up with cookie “pancakes” that collapsed instantly. The sweet spot is a butter stick that yields to gentle pressure.
Why Your Nose Knows Best
Trust the scent cues more than the timer. When the edges start to turn a light caramel color and you catch a faint toasted cocoa aroma, the cookies are done. Over‑baking turns the interior dry and the frosting will seep into a crumbly shell. If you’re uncertain, open the oven a crack and sniff—your nose is the ultimate timer.
The 5‑Minute Rest That Changes Everything
After removing the cookies from the oven, let them rest in the tin for exactly five minutes before transferring to a wire rack. This short pause allows the steam to finish cooking the center, giving you that perfect cake‑like interior. Skipping this step results in a gummy texture that can’t support the frosting.
Frosting Consistency is Key
When beating the cream cheese frosting, start on low speed to avoid splattering, then increase to medium‑high until the mixture is light and fluffy. If the frosting is too thick, add a teaspoon of milk; if too runny, add a bit more powdered sugar. The goal is a spreadable yet sturdy frosting that holds its shape inside the cup.
Cooling Before Frosting Prevents Cracks
Never frost a warm cookie. The heat will melt the cream cheese, causing cracks and a runny mess. Let the cookies cool completely on a rack—this can take 20 minutes for larger batches. I’ve learned this the hard way when a batch turned into a frosting‑smeared disaster.
Creative Twists and Variations
This recipe is a playground. Here are some of my favorite ways to switch things up:
Chocolate Swirl
Before baking, swirl a teaspoon of melted dark chocolate into the batter with a toothpick. The result is a marble effect that adds a bittersweet surprise in every bite.
White Chocolate Chip
Fold in ½ cup of white chocolate chips into the dough for pockets of creamy sweetness that contrast the tangy frosting.
Espresso Kick
Replace 1 tablespoon of the cocoa with finely ground espresso powder. The coffee note deepens the chocolate flavor and pairs beautifully with the cream cheese frosting.
Nutty Crunch
Sprinkle chopped toasted pecans or hazelnuts on top of each cookie before baking. The nuts toast in the oven, adding a crunchy texture that elevates the overall mouthfeel.
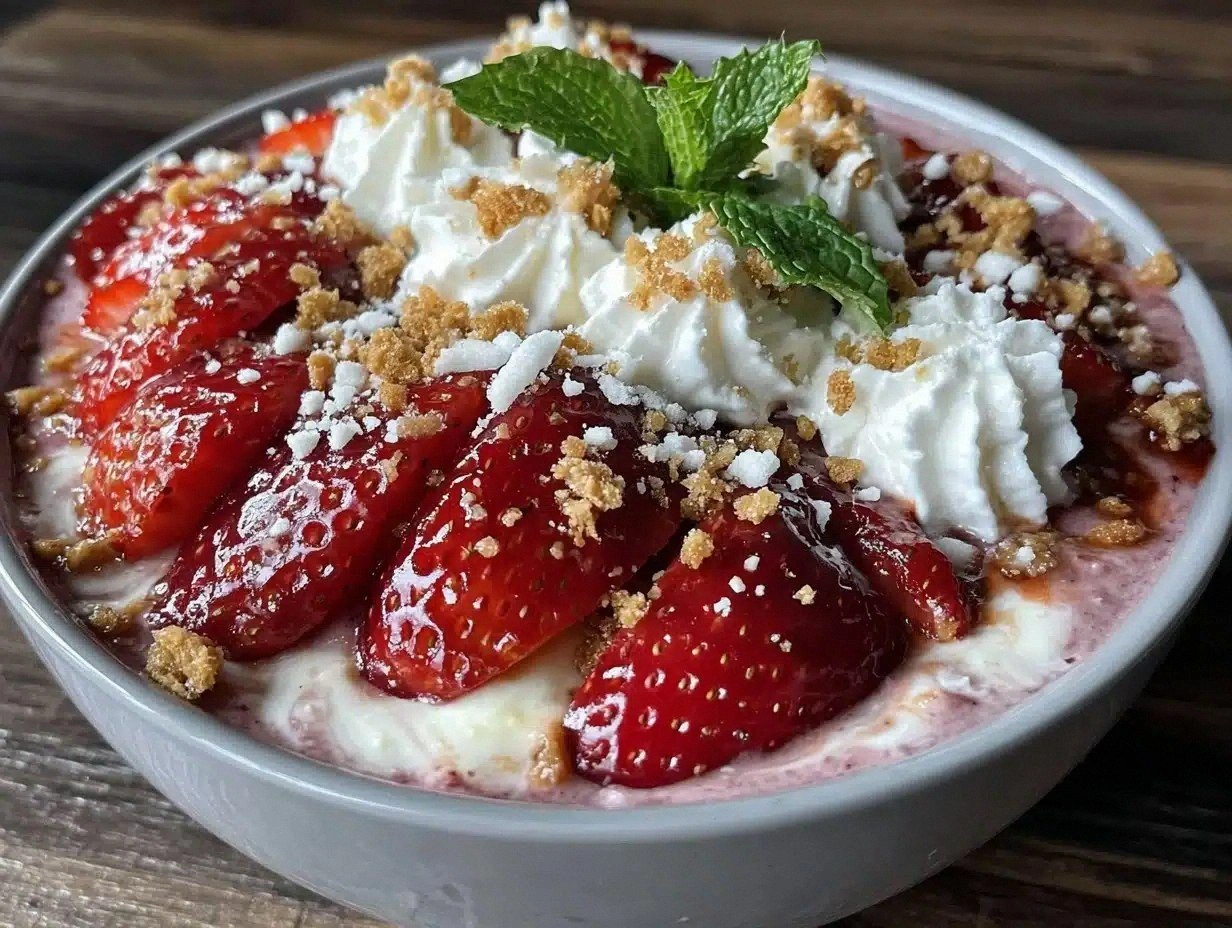
Seasonal Berry Burst
After frosting, top each cup with a fresh raspberry or a thin slice of strawberry. The fruit’s acidity cuts through the richness, making it a perfect spring or summer variation.
Vegan Adaptation
Swap butter for coconut oil, use a plant‑based cream cheese alternative, and replace the egg with a “flax egg.” The flavor profile stays close, and you’ll have a vegan‑friendly version that still impresses.
Storing and Bringing It Back to Life
Fridge Storage
Place the cooled cookie cups in an airtight container with a paper towel at the bottom to absorb any excess moisture. They keep fresh for up to 5 days. Before serving, let them sit at room temperature for 10 minutes to soften the frosting.
Freezer Friendly
Wrap each cookie cup individually in plastic wrap, then store them in a zip‑top freezer bag. They freeze beautifully for up to 2 months. To reheat, let them thaw overnight in the fridge, then pop them in a 300°F oven for 5 minutes.
Best Reheating Method
When you’re ready to serve, place the cookie cup on a microwave‑safe plate, add a tiny splash (about a teaspoon) of water, and microwave for 15‑20 seconds. The steam revives the crumb and the frosting becomes luxuriously soft again.